Compress Your Image
60%
User Guide for the Responsive Image Compressor Tool
Welcome to the Responsive Image Compressor Tool, a straightforward and efficient solution designed to help you reduce the file size of your images without compromising on quality. This tool is perfect for optimizing images for web use, saving storage space, or simply making your images easier to share. This guide will walk you through how to use the tool effectively.
Getting Started
To begin using the Image Compressor Tool, you do not need to install any software or applications. The tool is web-based and can be accessed from any modern web browser on desktops, laptops, tablets, or smartphones.
Features
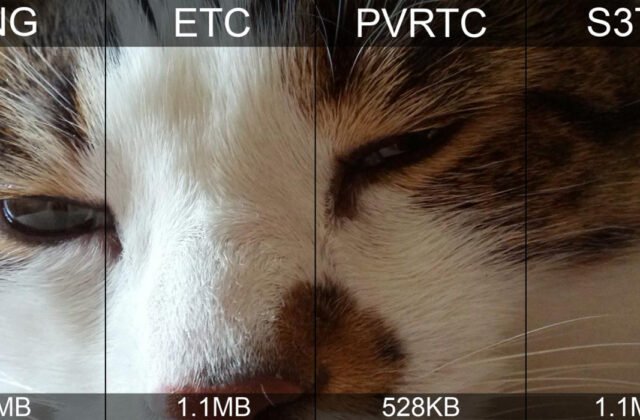
- Image Compression: Easily compress your JPEG, PNG, or GIF images.
- Quality Adjustment: Customize the compression level to find the perfect balance between quality and file size.
- Instant Download: Download the compressed image directly from the browser.
How to Use the Image Compressor Tool
- Open the Tool: Launch your web browser and access the Image Compressor Tool.
- Select Image Quality:
- Find the slider labeled “Compression Quality.”
- Move the slider to adjust the compression quality percentage. The default setting is 60%. Decreasing the percentage will result in a smaller file size but lower image quality, and increasing the percentage will do the opposite.
- Upload Your Image:
- Click on the input field or drag and drop your image into the designated area to upload the image you wish to compress.
- Please note that the tool accepts JPEG, PNG, and GIF formats.
- Compress Your Image:
- Once your image is uploaded and you’ve selected your desired quality, click the “Compress Image” button.
- The tool will process your image, and the compression will take place.
- Download the Compressed Image:
- After compression, your image will be displayed on the screen.
- Right-click on the image (or long-press if on a touchscreen device) and select “Save image as…” to download the compressed image to your device.
Tips for Best Results
- Experiment with Quality Settings: Start with a higher quality setting and gradually decrease to find the perfect balance for your needs.
- Use for Web Optimization: This tool is ideal for preparing images for websites, blogs, or e-commerce platforms, where loading speed is crucial.
- Privacy: Your images are processed in the browser, ensuring they remain private and are not uploaded to any server.
Troubleshooting
- Unsupported File Types: Ensure your image is in JPEG, PNG, or GIF format. Other formats are not supported.
- Browser Compatibility: If you encounter issues, try using a different web browser or update your current browser to the latest version.
Conclusion
The Responsive Image Compressor Tool is designed to be a user-friendly, efficient solution for all your image compression needs. Whether you’re looking to optimize images for the web, reduce storage space, or simply share images more easily, this tool provides you with the control you need to achieve your desired results.
Blogs
How reduce JPG file size?
In today’s digital age, where sharing and uploading images have become an integral part of our daily lives, managing the file size of these images, especially JPGs, is crucial. Whether you’re a professional photographer, a graphic designer, or just someone looking to save some space on your device, reducing the…
 Blog
Blog
How do I reduce the MB size of a photo?
In the digital age, high-quality photos have become a staple for everything from social media posts to professional portfolios. However, large image files can be cumbersome, especially when website speed and storage space are at a premium. Reducing the megabyte (MB) size of a photo without compromising its quality too…